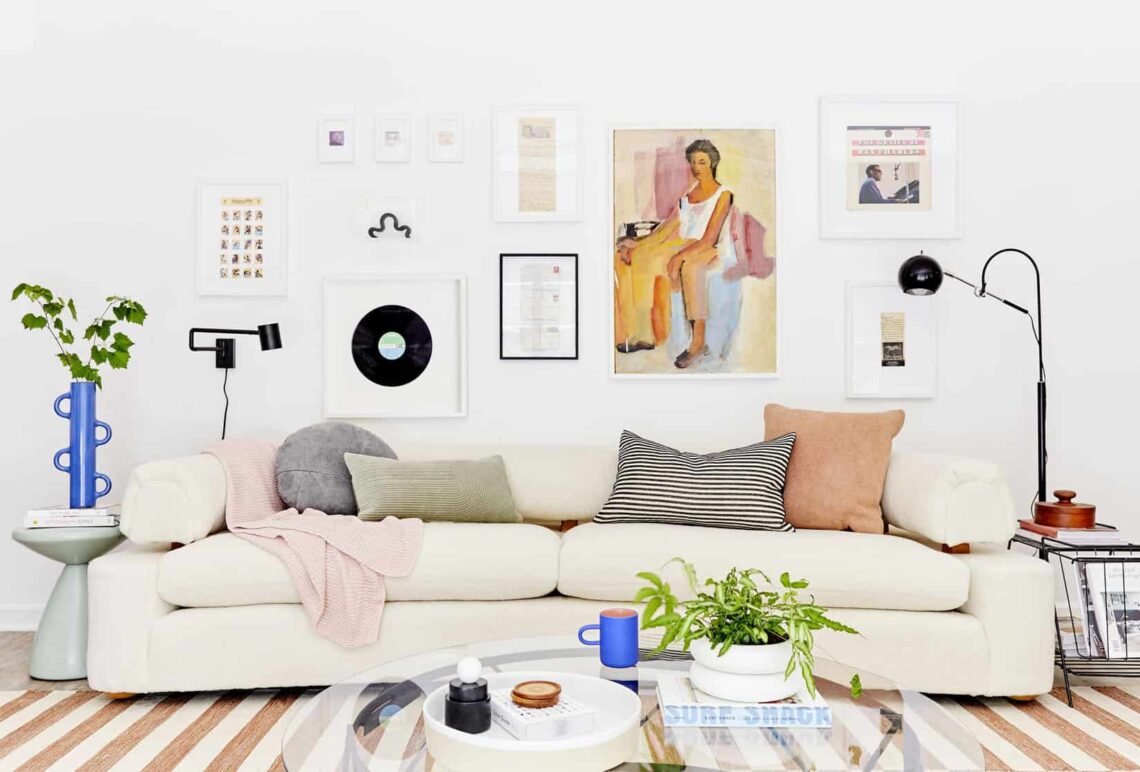
So, you’ve got some blank space on the walls and you want to do more than just put one piece to fill it up. It’s so difficult sometimes to pick just one artwork! Instead, why not opt for something with some pizazz and creativity? We’ve been so inspired by the endless variations of gallery walls, and we think you should try it out! This is a great option to really fill up a wall with multiple different smaller pieces, which gives a breathtaking and dynamic effect to the room. They can be done in rooms big and small, and they do not always have to be super large or complex. Although many of the gallery walls you see on your Pinterest boards all seem highly curated and professionally done, these are a lot easier to do than they seem. Decorating in this way provides a great opportunity to express your unique taste and is quite fun as a do-it-yourself weekend project! In just a few steps, here’s how to make your residence feel a bit more like a museum.
Find the Right Spot
The first step to any great gallery wall is finding the perfect spot in your place for it. It’s more conventional to have a gallery wall on a large blank space in the most visible room, like the living room or bedroom. However, it’s worth it to see potential in other areas that are unexpected. Don’t be afraid to create a gallery wall above furniture like a bed, sofa, or table. It also can be fun to place them in unexpected rooms like the bathroom or kitchen. If you’re low on space, then you can always create a gallery wall on a smaller scale by orienting some smaller pieces next to each other in a tighter area. Find the area, see the potential, and make it work!
Think of a Cohesive Theme
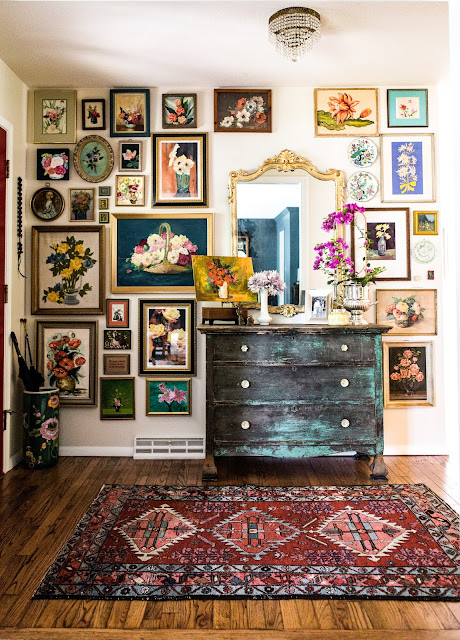
Now that you have chosen your wall with the most potential, the next step is to figure out what you are going to actually fill it with! Our best advice is always to follow your own style. If you prefer, decide on a stylistic or thematic consistency of the artworks to ensure they go well together. You also could feel free to mix pieces of different styles and mediums. However, if you do this there are some parameters to keep in mind. At the very least, ensure that there is cohesion between the pieces by picking a consistent color palette for the wall. Ensuring that a similar color pattern is present in each of the works, especially if they are of clashing styles, will allow for the whole wall to match harmoniously.
Mix it Up!
In the spirit of mixing up the styles and mediums that feature in your gallery wall, we encourage as well adding even more details to give the arrangement an extra personal touch. This is your gallery after all! Pick out some funky, mismatching frames for an eclectic look. Also, keep in mind that not every space in your gallery wall has to be just art, mix it up! Add in a family photo, a cool polaroid that you took, mount a potted plant, a clock, a lighting fixture, or even add a shelf. Do as you see fit, and let your imagination go wild on the wall!

Arrange Your Gallery Wall
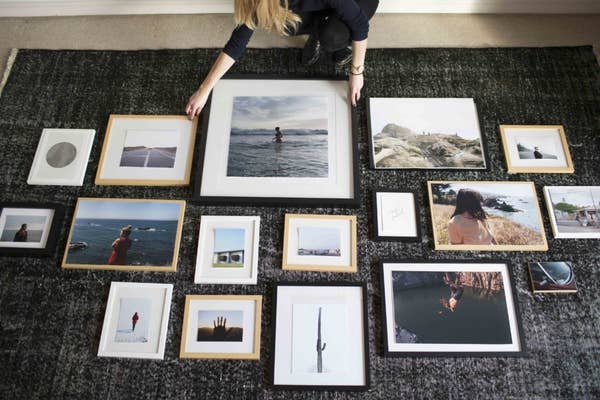
The artworks are chosen, the wall is ready to be filled, now it’s time for the hard part! Measure the allotted space of wall you are going to fill, and make a space that size on the floor with painter’s tape. Next, lay out all the artworks on the floor and orient them how you want in the measured space. This way, you can rearrange them as you see fit before finding the orientation that you like the best. Play around with the sizing of the works. Allow your large pieces to be the crux of the gallery, with smaller pieces accenting and flanking them. Mix and match vertical and horizontally oriented works. Above all, go with whatever makes the most sense to your style and the space on the wall.

Hang Them Up and Admire Your Gallery Wall!
The moment of truth has finally arrived! After picking an orientation that you love, take those pieces off the floor and mount them to the wall. If you can, have someone help the process. One person is responsible for mounting, while the other stands back to ensure the orientation looks good from afar. Once the artwork has been placed in a good spot, the spotter walks over to the holder and makes a pencil mark for where the nail goes. Repeat this process with the rest of the elements of the gallery wall until they are all hung up! Hang the pieces in order, start with one side and continue that way. For example, if you start with the left side, continue going right. This would solve any issues in spacing. After all the hard work is complete, sit back and admire your new beautiful creation! That is, until you want to redecorate again!
Want to start work on your own gallery wall? We have thousands of original artworks to choose from to start yours! Head to balthasart to browse the selection.