With our experience in the art world, we’ve seen it all. One thing that we come across a lot of are terrible art photos on the internet. It makes us wonder if artists believe in just how essential it is to shoot their work in good light! That’s exactly what we are here to tell and show you today. How you show your work is nearly as essential as making the art itself. So, in the spirit of making your art images seem as excellent as possible, we wrote a guide that breaks it all down in depth! Here are our pointers to consider:
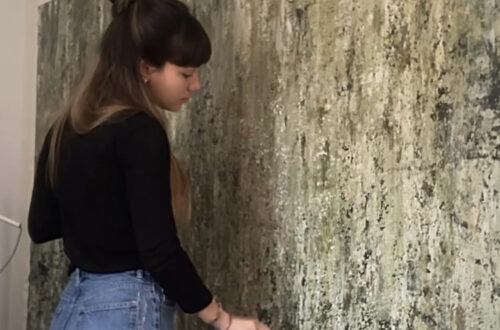
- Take photos of your artwork in attractive backgrounds. Places, settings, and surroundings that detract from the work should be avoided. Show it lying on the floor, resting on furniture, leaning against walls, or in other chaotic or unfavorable situations, for example. You want people to notice how much you care about your work and how it is presented. It matters where and how you display it. And how well you make it appear is much more important..
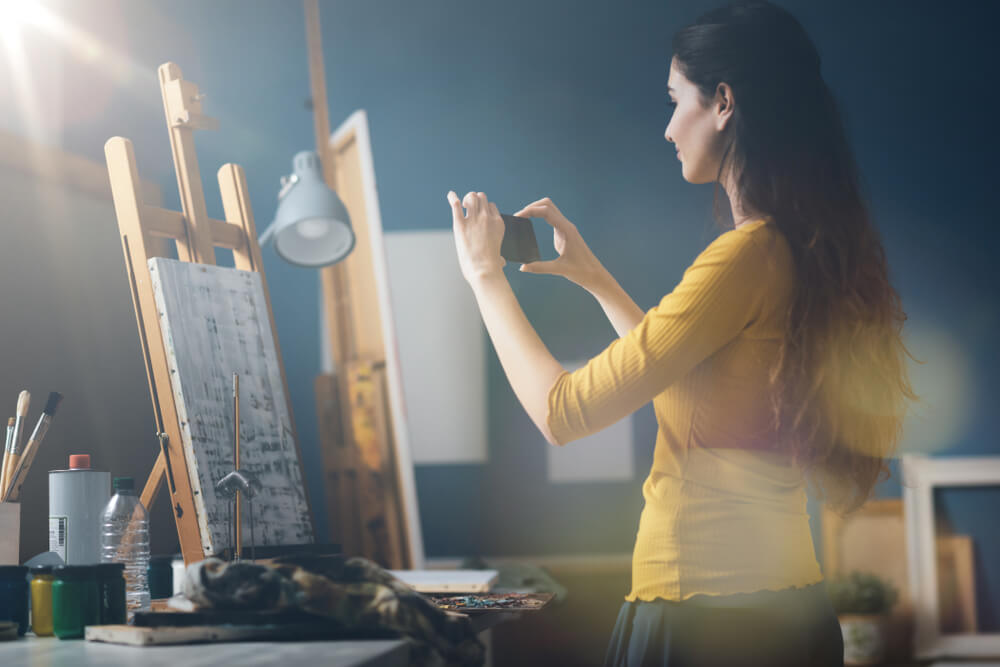
- Photographs should always be shot at a resolution that allows viewers to perceive important details. Low-res images that are fuzzy or pixilating are not appealing. Some artists do this on purpose to “guard” their work, but viewers will typically move on if they can’t get a good notion of what it looks like.
- Pay special attention to how the room is lit. There should be no spots that seem too dark or too bright on the surfaces. If your artwork is textured, be sure you illuminate it such that the texture can be seen. Keep an eye out for sections of sunshine or shadows that can hide or be too close to elements of the compositions while photography in interiors. If you point your flash straight at the painting, you’ll get dazzling white spots, glare, reflection, and even burn. It is advisable to take test photographs along the route to ensure that your lighting is optimal.
- Use a tripod if required to keep your phone or camera stable while shooting. Blur or motion effects are no longer an issue.
- Keep your appearances to a minimum, no matter how much you like posing with your art. People will question if your photographs are about you or your work the more you inject yourself into them. It can be distracting from the art if there is too much you.
- Close-ups should be used more frequently if your artwork contains a lot of detail. People may recognize your detailed talents as well as the complexity of your work with good close-ups. When working with close-ups, you can use common objects like a pencil point or a brush tip to assist enhance the detail.
- You are not required to include copyright notices with your photographs. Copyright protection is immediately applied to your work.
- Keep the artwork away from windows or other bright light sources that might compete with it and detract from it.
- When required, color-correct photos. You want your work to appear in pictures as closely as possible to how it appears in person.
- Shoot your art straight in front of you, not from the sides, above, or below. Its form is distorted when shot from an angle. The worse the distortion, the more severe the angle.
- Always ensure that your artwork seems as excellent in your photographs as it would in a gallery. Perfectly hung or positioned art demonstrates that you care; crooked or hastily hung or positioned art demonstrates that you do not.
- When photography outside, make sure your artwork is the focus of attention and shines out against the surroundings. Beautiful backdrops can sometimes fight for attention with the art, detracting from the viewing experience.
- When shooting art that has a glossy surface or is framed behind glass, keep an eye out for reflections. While removing picture flaws might take some time, the end result is always worth the effort.
- Always exhibit the whole artworks whether photography for social media or thumbnail pictures for your website. When you crop rectangular compositions to fit square forms, for example, people may mistakenly believe your art is square when it isn’t. Removing parts of a work to fit a specific format nearly always has negative consequences.
- Avoid displaying too many of your pieces of art in a one photograph, especially if they’re all extremely distinct. You, as the artist, are well aware of what you’re looking at. However, the majority of viewers will not. It’s great to exhibit an art-filled studio image now and again, but presenting too many works gathered together too frequently might be confusing.
- If you see a flaw in an image of your work, go over it again (and again) until it’s perfect. If you’re not happy with an image, chances are that the people who are viewing it aren’t too.
That’s our (very comprehensive) guide to photographing your artworks! We hope you found these tips helpful to setting up your own artistic profile! As an artist in this digital age, how you present your works is so important. Want more insights and resources on your artistic career? Check out the other articles “for artists” on the blog and stay tuned for more to come! As always, if you want to join our community of balthasartists, don’t wait, sign up today!